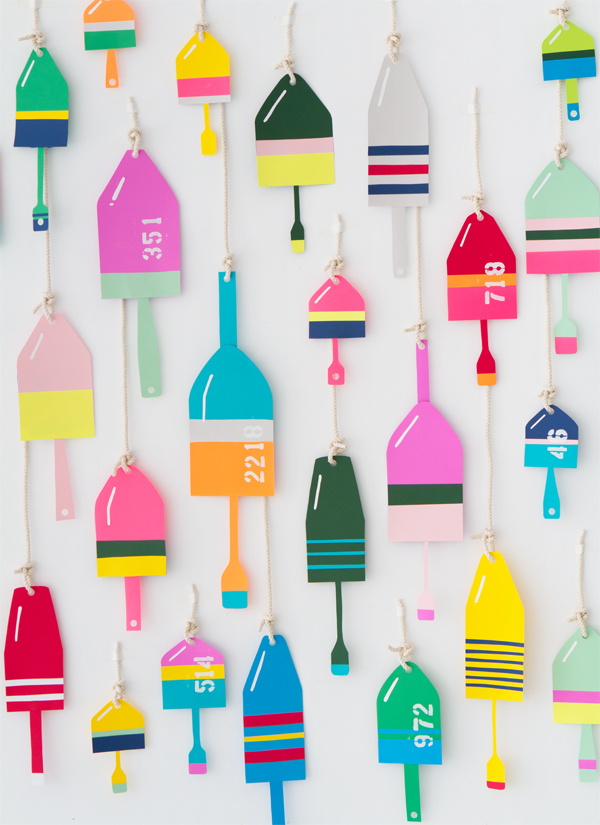
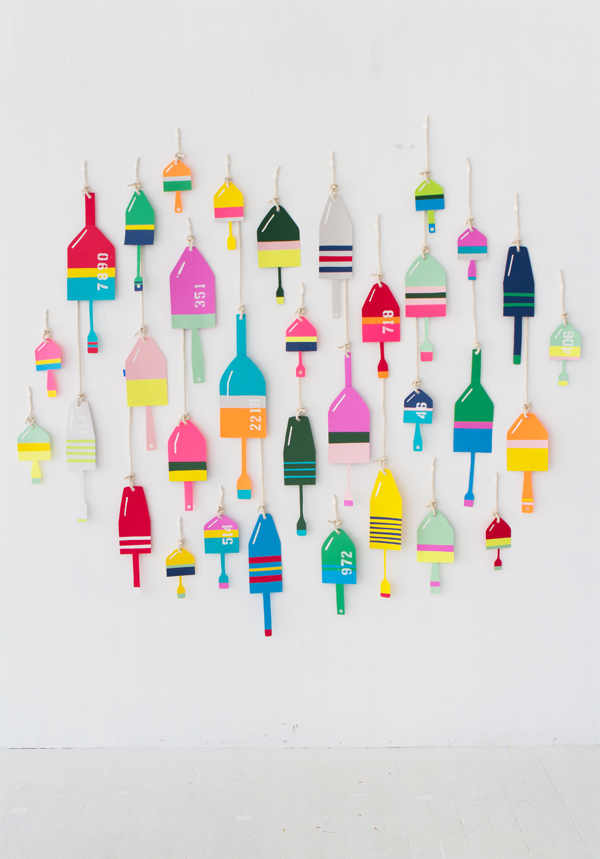
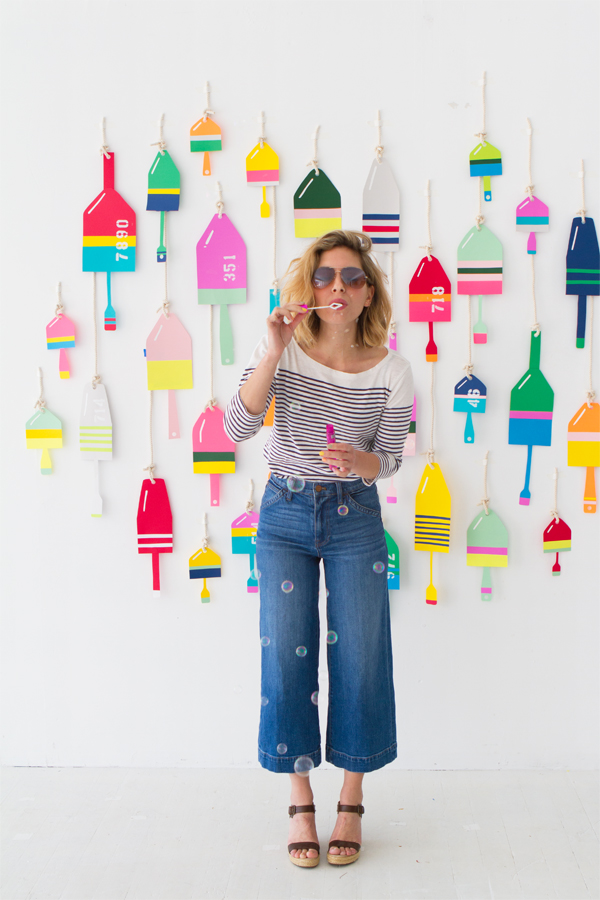
Recently, during one of my daily Pinterest wanderings, I stumbled upon this beautiful photo capturing a colorful array of lobster buoys. Prior to that moment I was largely ignorant of what a lobster buoy was (and, admittedly, maybe I’m still not entirely sure!) However, there was something about the bright color blocking, the use of stripes, and the stencil numbering that instantly warmed the cockles of my graphic designer heart and I knew we had to recreate it in some way for party photo booth backdrop!

Materials Needed: Buoy printable template, printer and paper, cardstock in lots of colors (we chose a mix of neon, pastel, primary and dark colors), scissors, glue stick, 1/2″ hole puncher, white acrylic paint, sponge, number stencil, white rope, painter’s tape.
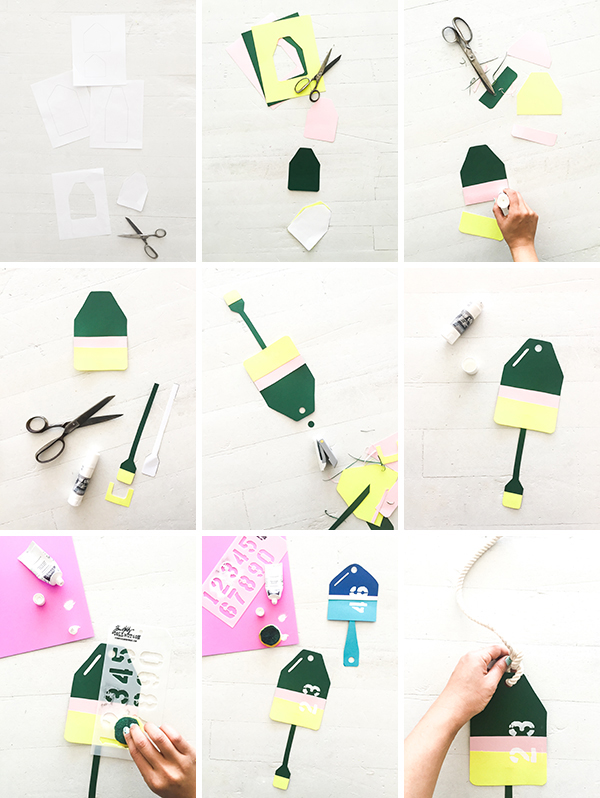
Step 1: Print and cut out printable buoy template onto standard printer paper.
Step 2: Pick 2-3 sheets of cardstock for each buoy. To create a more striking combination, don’t be afraid to include some darker colors into your mix- like army green or navy blue- it will make the bright and neon colors really pop! We also mixed in some more ‘classic’ nautical combinations like red, white and blue, to balance it out. Use the template to cut the buoy shape from the sheets of cardstock.
Step 3: Cut the buoys so that you have a top section from one, a mid section from another, and a bottom section from the last. Arrange and adhere the sections together with glue. (Resist the urge to toss the scraps, you can keep the leftover section pieces for future buoys!)
Step 4: Pick a tail piece from the printable template and cut one out in a coordinating color. Add embellishments if you want — like a stripe or color block. Adhere the tail piece to the buoy and let dry.
Step 5: Punch a 1/2″ hole on the top of the buoy.
Step 6: Cut out a little sliver of white cardstock with rounded ends. Glue it to the buoy parallel to the angle on the top.
Step 7: Put a little white acrylic paint on a sponge and dab softly on a piece of scrap paper to saturate. Position the stencil over the buoy and blot the sponge onto the design. Make sure to let the paint dry between each number to avoid smudging!
Step 8: Loop rope through the hole atop the buoy and make a knot. We used a lobster buoy hitch because, well, why knot! Leave a little slack and snip off the leftovers.

Crafting by Naomi Julia Satake