To be honest, Easter was never a favorite holiday of mine. At least until I realized just how ridiculously CUTE bunnies are. Once I joined the ‘I Heart Bunnies’ fan club, it soon became apparent to me the what I needed most in my life was a GIANT ORIGAMI BUNNY. And maybe not just one but perhaps a whole freakin’ army of them!
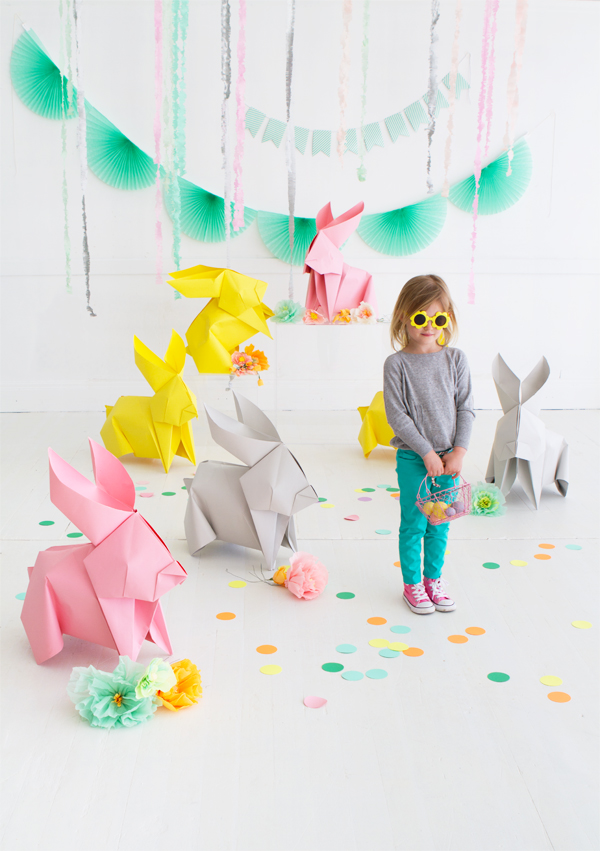
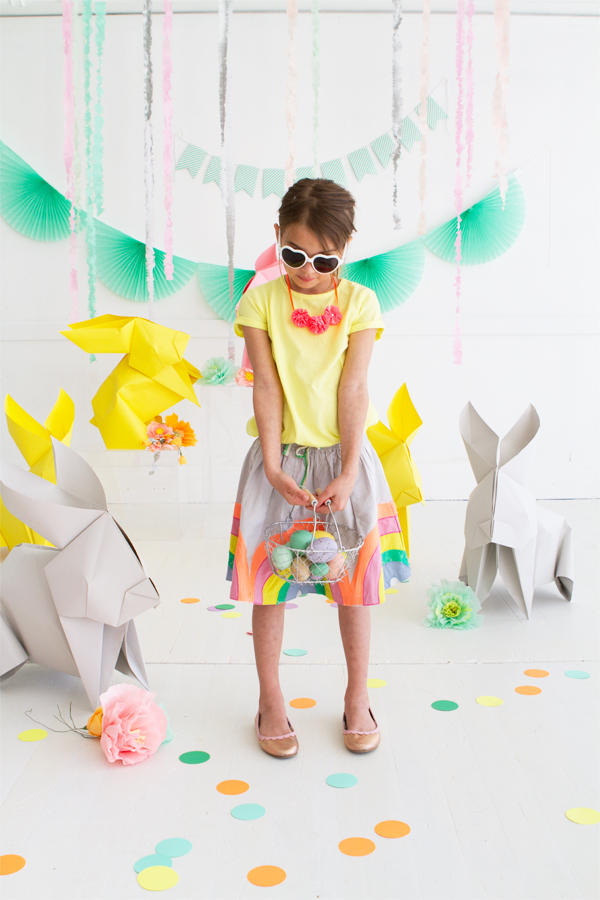
Yes, origami on a large scale is not exactly easy-as-pie, but the results are sooooo worth it. I mean, GIANT BUNNIES!! Wouldn’t they be a beautiful feature at a kid’s Easter egg hunt?


Tool and Materials: 53” seamless paper backdrop (Savage sells these in so many colors!), self-healing mat, a long ruler, x-acto knife, bone folder (for hard creases), pencil, hot glue gun
*This project uses Tetsuya Gotani’s design. Before starting, it may be helpful to review the original instructions here.
Step 1: Roll out the paper backdrop on a large flat surface. You may need weights to prevent curling.
Step 2: Fold one of the free corners in to create a triangle. Using the self-healing mat, long ruler, and x-acto knife, cut the paper from the roll. Unfold. You should have a perfect square.
Step 3: Fold in half to create a rectangle. Unfold. Fold in both sides to meet at the center crease.
Step 4: On the left-hand side, fold the edges in to create a triangle. Unfold.
Step 5: Using the pre-folded lines, do a squash fold. It should look a diamond. Fold the right-most end of the diamond over to meet the left.
Step 6: Fold in half. Flip.
Step 7: Fold the corners of the remaining rectangle edge. This doesn’t need to be precise! We went with a rough 30 degree angle from the center fold.
Step 8: Fold in half, again. Flip. Rotate the paper as photographed.
Step 9: Fold the top-right corner in to create a triangle (this is when you’ll start needing that bone folder!). Unfold.
Step 10: Using the pre-folded lines, do a squash fold. It should look like a larger triangle. Fold the left-most corner of the triangle over to meet on the right.
Step 11: Open the fold you made in Step 8. You should see a pre-folded triangle on the right. Using your ruler and pencil, mark the mid-point of the triangle.
Step 12: Create a pre-fold crease from the top right corner to the penciled mark. Repeat with the lower right corner.
Step 13: Using the pre-folded creases, pop the top portion up to create a reverse L shape.
Step 14: Separate and fold the triangle down from the top-most point. It should look like a larger triangle.
Step 15: Say, “Hi!” This is your bunny’s face!
Step 16: Open up the flap on the right. Bisect using the inner crease as a guide. Close the flap. Repeat on the other side.
Step 17: Z-fold the top-most part using the pre-folded crease. The sharpness of the angle is up to you — these are your bunny’s ears. Repeat on the other side.
Step 18: Open the flap on the right, again. Looking at the backside of the z-fold you just made, fold the side in, making a small squash fold. Apply hot glue and hold until cool. Close the flap. Repeat on the other side.
Step 19: Using the right-most point, z-fold ⅓ of the way into the face. This is your bunny’s nose!
Step 20: Using the left-most point, fold another z-fold. Let the point stick out a few inches. This is your bunny’s tail!
Step 21: Looking into the interior of the bottom-fold, you’ll see a flap on the right-side. Fold this over so that it peeks out beneath the bunny’s face.
Step 22: Pinch-fold paper under the bottom-right point (the front paw). Approximately ¼ of the way up the paw, apply hot glue, and hold until cool. Repeat on the other side.
Step 23: Approximately ⅓ of the way into the body from the left-hand side, create a loose pinch-fold. This is your bunny’s back legs. Apply hot glue and hold until cool. Repeat on the other side, being careful to make sure both of the back legs are even.
Step 24: Apply hot glue ⅔ of the way down the fold created in Step 21. Hold until cool.
Step 25: Create a small, triangular pinch-fold on the face, using the pre-folded crease as a starting point. Apply hot glue and hold until cool.
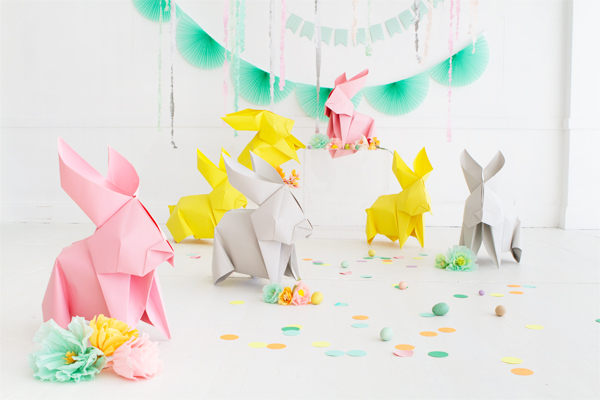
Step 26: Stand your bunny up and adjust as necessary! Don’t forget to fluff his ears!
Using the 53” wide paper backdrop will get you a two foot bunny. Amazon sell these rolls in smaller and larger measurements, too.

We’ve had some feedback that Step 13 was a little hard to follow so we made a quick video of this step (using a smaller origami bunny) to hopefully make it clearer!
Crafting by Naomi Julia Satake
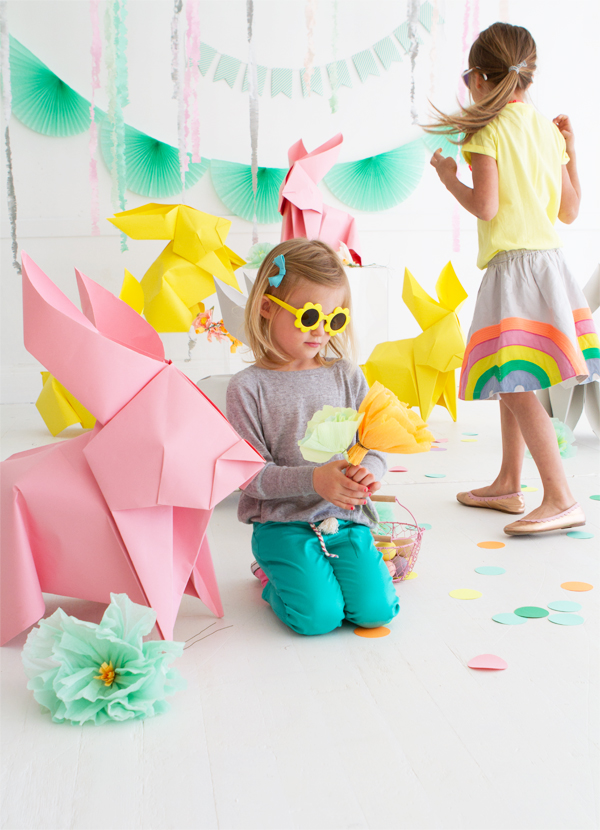
Special thanks to little Sophie & Maggie from JE Models!